
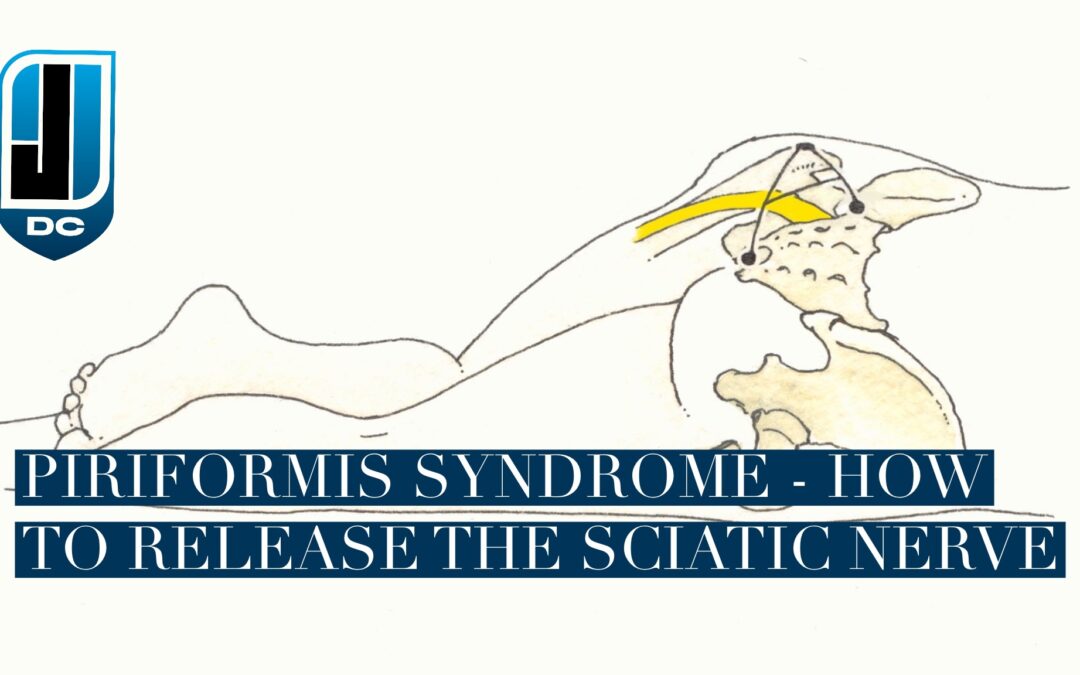
Piriformis syndrome is a condition that causes compression of the sciatic nerve under the piriformis muscle. In this post I’ll walk you through how to release the sciatic nerve in piriformis syndrome. Sciatic nerve flossing exercises and contract-relax stretches are a great initial exercise program for most people to start with.
I’ll show you the three best exercises to release the sciatic nerve and improve flexibility that you can do every day. After releasing the sciatic nerve, hip strengthening exercises are appropriate and can help you finally get over sciatic nerve pain and the annoying and aching pain deep in your piriformis. Make sure you check out my other content where I cover strengthening exercises for the piriformis.
Relieve Sciatic Nerve Pain from the Piriformis with Sciatic Nerve Flossing Exercises
I typically start with Sciatic Nerve Flossing exercises to free up the sciatic nerve from the piriformis. These sciatic nerve exercises aren’t a stretch or a strength exercise. Instead, they’re exercises to tension, floss, and glide the sciatic nerve. By creating gentle tension and movement of the nerve along its path you can relieve compression, congestion, and local inflammation at the underlying problem. There are a number of areas where the sciatic nerve can become pinched or compressed:
- The IVF (hole where a nerve root exits the spinal column)
- Underneath or through the piriformis muscle
- The fibrous edge of the Biceps Femoris muscle
- Between the Sciatic Notch and Ischial Tuberosity
Obviously, with piriformis syndrome, the piriformis muscle is where we want to release the sciatic nerve from. There are a few ways to do this, I’ll describe how to perform it but make sure you check out the video where I demonstrate sciatic nerve flossing.
How to Do Sciatic Nerve Flossing
To perform sciatic nerve flossing, follow these steps:
- Lay on your back on a flat surface.
- Raise the affected leg in a smooth motion as high as you can while keeping it straight.
- Simultaneously extend your head so you’re looking towards the ceiling behind you.
- Once you’ve gone as far as you can, lower your straight leg and flex your head back to a neutral position.
Perform 10 repetitions 2-3 times/day and each time you do sciatic nerve flossing and ensure you’re doing it slow and controlled. You should feel some tension in your hip and leg and possibly mild discomfort. If you get a lot of pain with this exercise, don’t raise your leg quite as high.
Sciatic Nerve Flossing
Here I show you multiple exercises to floss the sciatic nerve. You can find which exercise is the most effective for you and stick with it!
Contract-Relax Stretches for Sciatic Nerve in Piriformis Syndrome
Stretches to relieve sciatic nerve pain in cases of piriformis syndrome are important for recovery. However, you have to be careful and do the right stretches at the right intensity. I’ve personally seen cases of sciatic nerve pain from piriformis syndrome where a patient was stretching the piriformis too often and too intensely. If you’re doing this, you’re actually irritating the sciatic nerve even more by compressing the piriformis against an irritated nerve.
Usually, reducing the load during a piriformis stretch is the most effective. The pigeon stretch, commonly recommended on the internet, may feel good initially but create more inflammation afterwards. Instead, I recommend the contract-relax figure 4 piriformis stretch. Stretching the opposing muscles, in this case the hip adductor (groin) muscles, is important as well.
Figure-4 Contract-Relax Stretch for Piriformis Syndrome
To perform the figure-4 stretch, follow these steps:
- Lay on your back and cross your ankle on the affected leg over the opposite thigh (making a figure-4 shape).
- Reach your arms through the space in-between your legs and clasp your hands behind the hamstring on your unaffected leg.
- Lean back and pull your thigh up towards your midline.
- Holding the stretch gently contract your butt and so you’re pushing (with 20% of your maximum force) the knee on your affected leg downwards.
- Hold this position while pushing for 10 seconds.
Perform 5 repetitions 2-3 times/day. You should feel a mild stretch but not a significant increase in pain. Try and stretch a little bit deeper with each subsequent stretch to get more mobility.
Side Lunge Contract-Relax Stretch for Piriformis Syndrome
To perform the side lunge stretch, follow these steps:
- Standing, widen your legs roughly twice the width of your shoulders.
- Lunge sideways away from the affected leg until you feel a stretch in your groin area.
- With your affected (straight) leg, contract your groin muscles lightly (using 20% of your maximum force) as if you’re pushing your affected foot down and towards the other foot.
- Hold this contraction for 10 seconds and then relax and come back to the standing position.
- Take a deep breath, repeat the stretch, and try to sink just a bit deeper.
Perform 5 repetitions 2-3 times/daily. Again, you should feel a stretch but not a significant increase in pain. This is a much better stretch for piriformis syndrome than a seated groin stretch because it avoids putting compression over the piriformis and sciatic nerve.

Jason Williams DC is a licensed Doctor of Chiropractic with Physical Therapy Modality and Acupuncture privileges. He is a chiropractor in Dumfries, VA at Sentara Therapy Center. Dr. Williams’ clinical expertise is in the evaluation, treatment, and rehabilitation of neuro-musculoskeletal conditions. Specific focuses include spinal, extremity, and sports-related complaints. He brings a patient-first attitude to his treatments and is a proponent of evidence-based and integrative care. See more content and his contact info here.
The opinions and views are mine personally, and do not necessarily reflect the views of others in the profession, my employer, or organizations that I belong to.